Upcycle some old pajamas or add some flare to a new pair of pajamas with this fun DIY Halloween Skeleton Pajamas Iron On Design!! This could even make for an easy costume for your toddler your young child!
DIY HALLOWEEN PAJAMAS
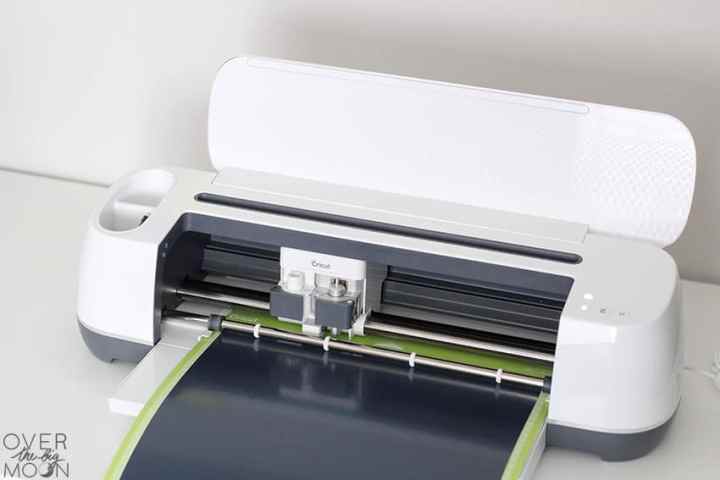
Today I’m excited to share with you these DIY Skeleton Pajamas that I made with my Cricut Maker (they can be made also with a Cricut Explore ) and my EasyPress 2. I love creating with my Cricut, because it allows me to make so many projects and in a fraction of the time!
DIY SKELETON PAJAMAS
Items needed:
- Cricut Maker or Explore Air 2
- SportFlex Iron On (in black or whatever color you need for your PJ’s)
- 12×24 Standard Mat
- Essential Tool Kit
- EasyPress 2 or Iron
- EasyPress Mat (or a towel can work too)
- Basic Long Sleeve Set of pajamas
- Cricut Design Space File for Skeleton Cuts – CLICK HERE
Directions:
Start by opening the Cricut Design Space file for the skeleton bones cut file HERE! Once you click to open it, hit ‘CUSTOMIZE!’
At this time you’ll want to resize the pieces to fit the pajamas that you plan on putting them on. They’re currently sized to fit a size 4 set of pajamas that I bought for my daughter! Just use a ruler to figure out the approx size you want them on your set of pajamas and then resize them if needed.
Once they’re sized like you want, then hit ‘MAKE IT’ in the top right hand corner!
Then select your machine from the drop down menu, select your material to Iron-On and make sure you to MIRROR both your mats! When cutting Iron-On you always want to mirror your mats!
Then prep your mat with the SportFlex Iron On, SHINY SIDE DOWN! I originally pulled out regular Everyday Iron On to use, but then realized the pajamas I picked out have a little stretch to them. So, I switched and used the SportFlex Iron On! It’s the best to use for anything with ANY stretch!
Once both your mats are cut, then next you’ll weed your design!
Then get your design laid out on your pajamas on top of your EasyPress Mat or a towel and lay your design on top of the pajamas to find the placement you want.
If you’re using this exact set of pajamas then set your EasyPress temperature set to 305 degrees for 30 seconds. Depending on the type of pajamas you have, you will want to double check the temperature and time that you’ll need to do. You can reference the EasyPress Interactive Quick Reference Guide HERE! This site will tell you the temperature and time for the transfer depending on what material your pajamas are and if you’re using an EasyPress Mat or a Towel.
I love my EasyPress 2’s so much! It makes applying Iron On 10x easier, because it takes all the guess work out of the temperature and time. You can read more about the EasyPress 2’s here if you’re interested.
Once you’ve applied the heat to the front, flip your garment over and apply heat to the back for about 10-15 seconds. Then go ahead and warm peel the plastic sheeting off the design.
And that’s it! You’re all done!
I do like to wash items that I apply Iron On to inside out to help the Iron On hold up longer! I make a TON of Iron On projects though and all have had a great life!
I think they turned out pretty dang cute and my daughter is so excited about them! Bring on all the Halloween fun!
Thanks again for having me today!
I’d love for you to check out some of my most popular Halloween projects!
- Halloween I Spy Printable Game
- Harry Potter Potion Bottle Printables
- Harry Potter Drink Printables
- Pumpkin Cream Cheese Puffs
- Harry Potter Printable Bookmarks
Also, if you love this post, I’d love you forever if you pinned the image below!


Becky
I would love to have this file for my granddaughter but it won’t open. So cute
Christy
This is such a great idea!!! And the cutest Halloween jammies I’ve seen!